Halloween is just
around the corner! It is such a fun
holiday to decorate for. I love all the
scariness, but with so many grandchildren I have to tone it down a bit. I wanted and “needed” a new table topper for
Halloween, so I decided why not make a candy corn one using the Dresden Plate
block.
You will need the
following to complete this table topper:
White, orange, and
yellow fabric scraps for wedges
Fabric scrape for center
Easy Dresden ruler by
Darlene Zimmerman
Low Loft Batting
Peltex(r) 2-sided Fusible
Heavy Interfacing
Wonder Under® or a
double sided fusible lightweight interfacing of your choice
Fabric for back
Thread
I went through my stash
and found scraps in the colors that I wanted.
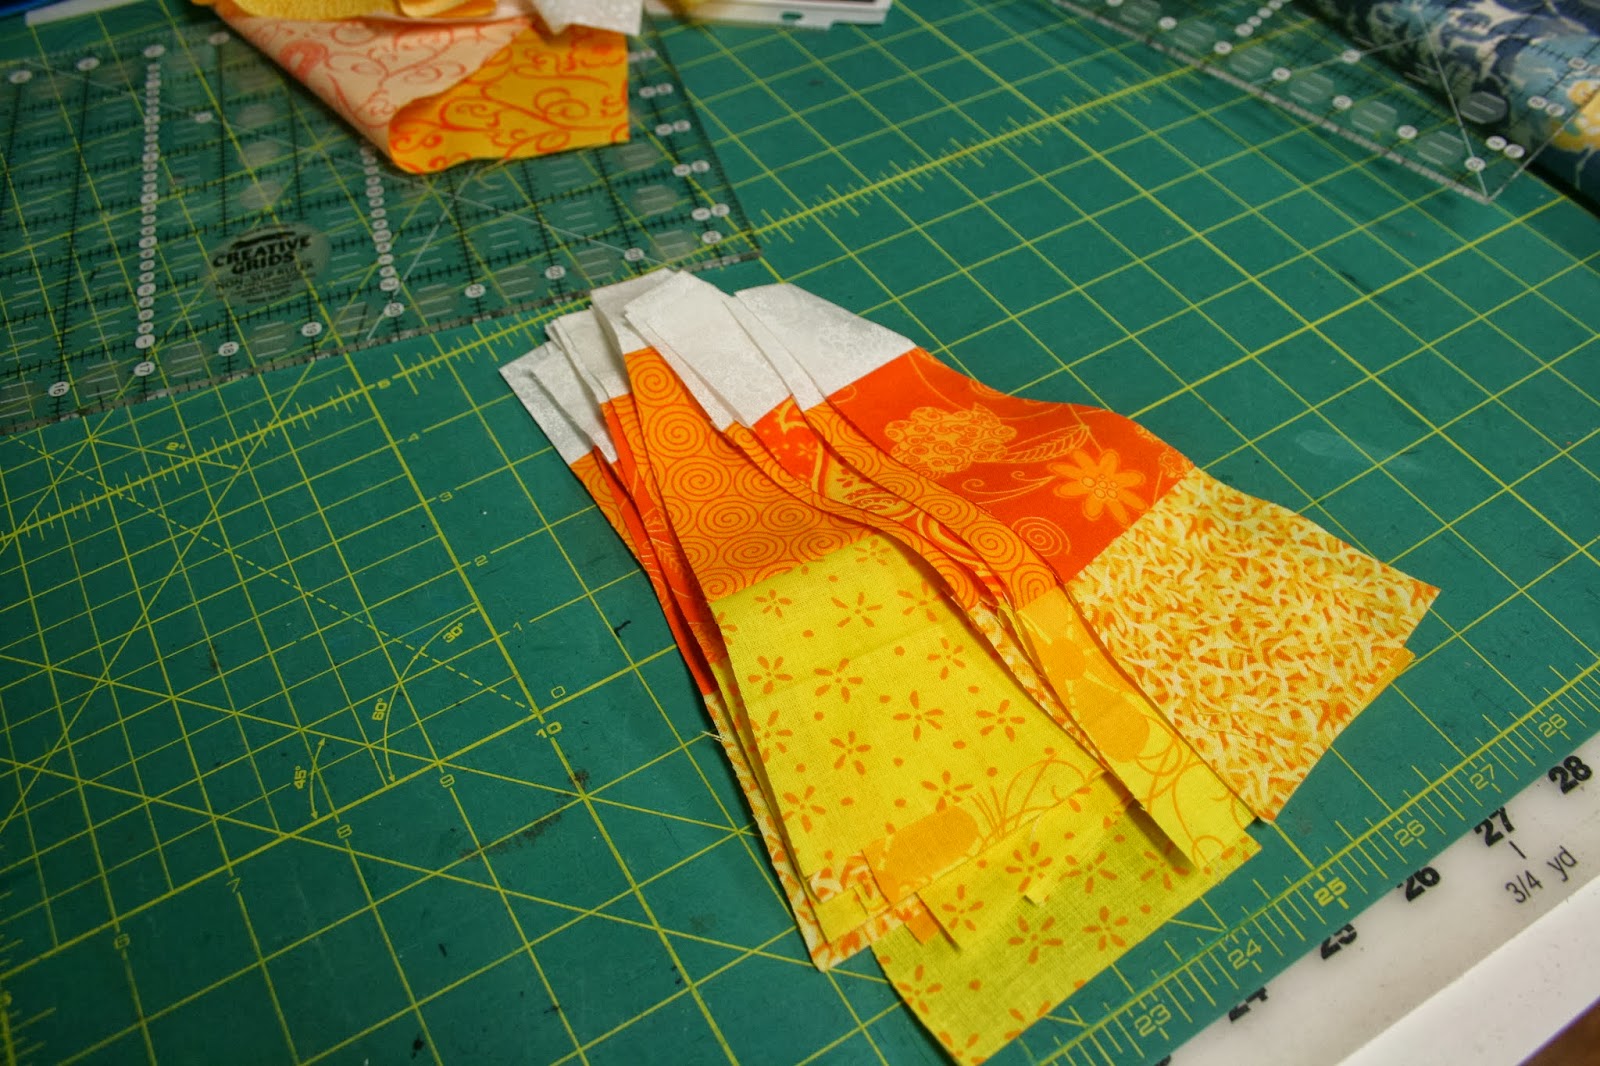
You can buy yardage and 1/8 yard would be more than enough. You will cut the white, orange, and yellow
fabric as follows:
White 2-1/8” wide strip
Orange 4” wide strip
Yellow 3” wide strip

These measurements
worked using my Easy Dresden ruler which measures 8” by 1”. Gave just a bit of wiggle room....

Sew your strips
together using a ¼” seam allowance.

Press your seams open.
Take your Easy Dresden
Ruler and cut 20 wedges! REMEMBER to
always have the narrow end of the ruler on the white fabric. This will waste some of the fabric, but you can
keep for other projects.

Lay out the wedges in a
pattern that you like and begin sewing them together using a ¼” seam
allowance. Press seams open.

When joining the wedges together be sure to
pin the two seams making sure that they meet….


Now I give this circle
a good PRESSING and STEAMING to make it lie flat as possible. DO NOT IRON . . . MOVING IRON BACK AND
FORTH. Just Press up and down using
steam to avoid stretching the fabric.
Lay the circle onto a piece of low loft batting and quilt as desired.
You will see that I
straight-lined quilted mine.

Not sure if you can see the quilting, but I quilted down all of the wedges on both sides and around the circle of the orange and yellow on both sides.
Find a piece of
fabric that you like and that will enhance your Dresden circle. Using a circle object (I used a bowl), trace
onto paper side of fusible interfacing, press to wrong side of fabric, and let cool. When cool, cut it out, peel backing, and fuse to the center
circle area of your Dresden circle. I
satin-stitched around my circle, but you can choose whatever method you like or
you could even do a needle-turn applique circle instead.
Take your finished
circle and fuse to the Peltex and backing fabric. Cut our around the Dresden Circle and satin
stitch around the edges. You could skip
this step and just use a backing fabric and bind your table topper if you would
like.
My finished table
topper ready for my table . . .

My friends know that I
LOVE Peltex® and use it for a variety of projects. I liked the idea of doing a spider candle mat
so I found a die-cut spider some black fabric, Wonder Under®, orange fabric,
Peltex®, and backing fabric. I drew out
the spider web onto the orange fabric and then satin stitched over the lines
with a narrow stitch width and then fused the spider to the bottom. Quilt as desired. Affix to Peltex® and backing fabric, quilt
some more, and satin stitch the edges.
For this particular little quilt, I used felt for the backing fabric.
A little glitter glue for eyes and hourglass and I had a cute little candle mat.

Whatever you choose to
do, remember HAVE FUN! And don’t sweat
the small stuff!!
Holley I love these projects you did a great job. I might have to give them a try.
ReplyDeleteThanks, Patricia! I do so enjoy holiday projects!! It's always nice to be able to finish a project quickly as I know I have several large projects in the works! Keeps me motivated! I hope you do give these a try and if you do, please let me know how it went!
Delete